
Who says you have to wait for spring to start planting seeds in the dirt? Winter sowing seems to be all the rage in my gardening groups, but if you haven’t heard of it, this is a rather effective method to stifle that early season itch to start planting any time between winter solstice and spring equinox. If you haven’t tried it before, here is a quick tutorial to get growing!
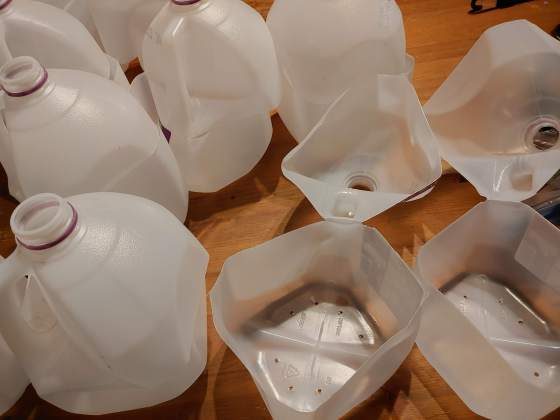
Step 1: Find as many transparent plastic jugs as you can. Milk jugs work especially well but juice or other food grade jugs work too as long as the sunlight filters through and you have room for 4-5″ of soil in the bottom. Cut most of the top off, leaving just enough that the ‘lid’ doesn’t come off and poke drainage holes in the bottom. If you have an electric drill handy it’s the easiest and fastest way to do a batch of them up in preparation for planting. It gets a bit dicey if you are using a knife so be careful!
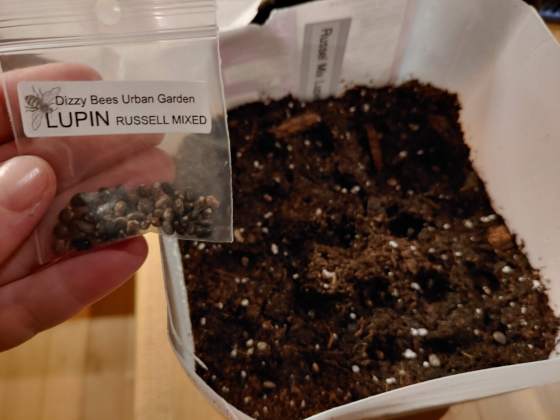
Step 2: Fill the bottom with 4-5″ of a premixed soil. I used Promix which is available in most hardware stores that have a garden centre. While it is recommended to moisten the soil a bit, I found that too much water at the beginning led to some algae development as the wet season got wetter here on the west coast. My second attempt I only gave the top a light sprinkle to hold the seeds in place and let mother nature do the work to maintain moisture.
Then decide what to plant! Winter sowing is especially great for both annual and perennial flowers, cool weather vegetables fruit and herbs that like a bit of cold stratification. Admittedly, the first few times I tried to grow lavender I had no idea what cold stratification even was and my efforts failed miserably, but they did great using the winter sowing method.
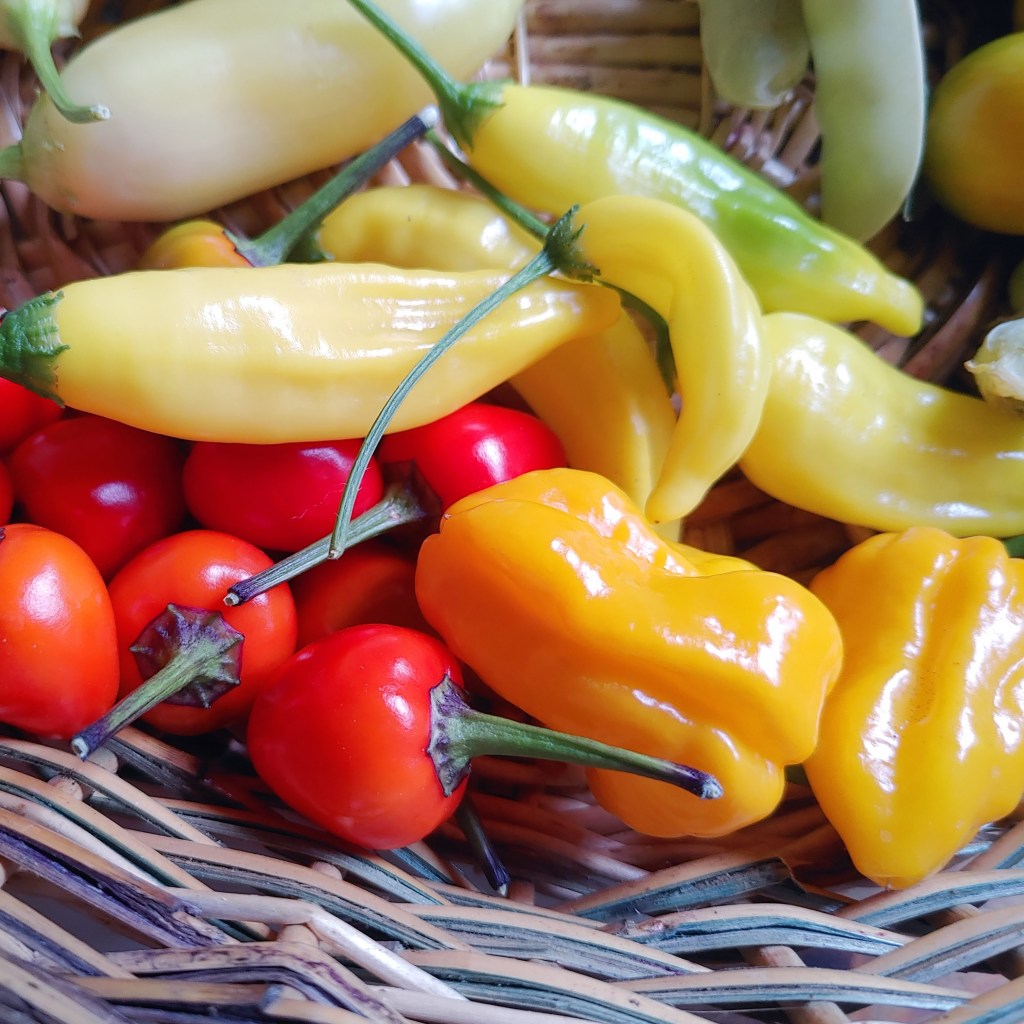
I did not use this method for any of the heat loving veggies I usually grow like tomatoes, peppers or squash and I don’t particularly recommend it. Nor did I use it for any root crops as they don’t transplant well. Overall I have tested out more than 50 types of seeds using this method and can confirm good results for the following:
Annual Flowers: Poppies (breadseed and California varieties), pansies, borage, marigold, calendula, strawflower, and sweet peas.
Biannual/Perennial Flowers: Hollyhock, columbine, echinacea, lupine, dianthus, rudbeckia and sweet William.
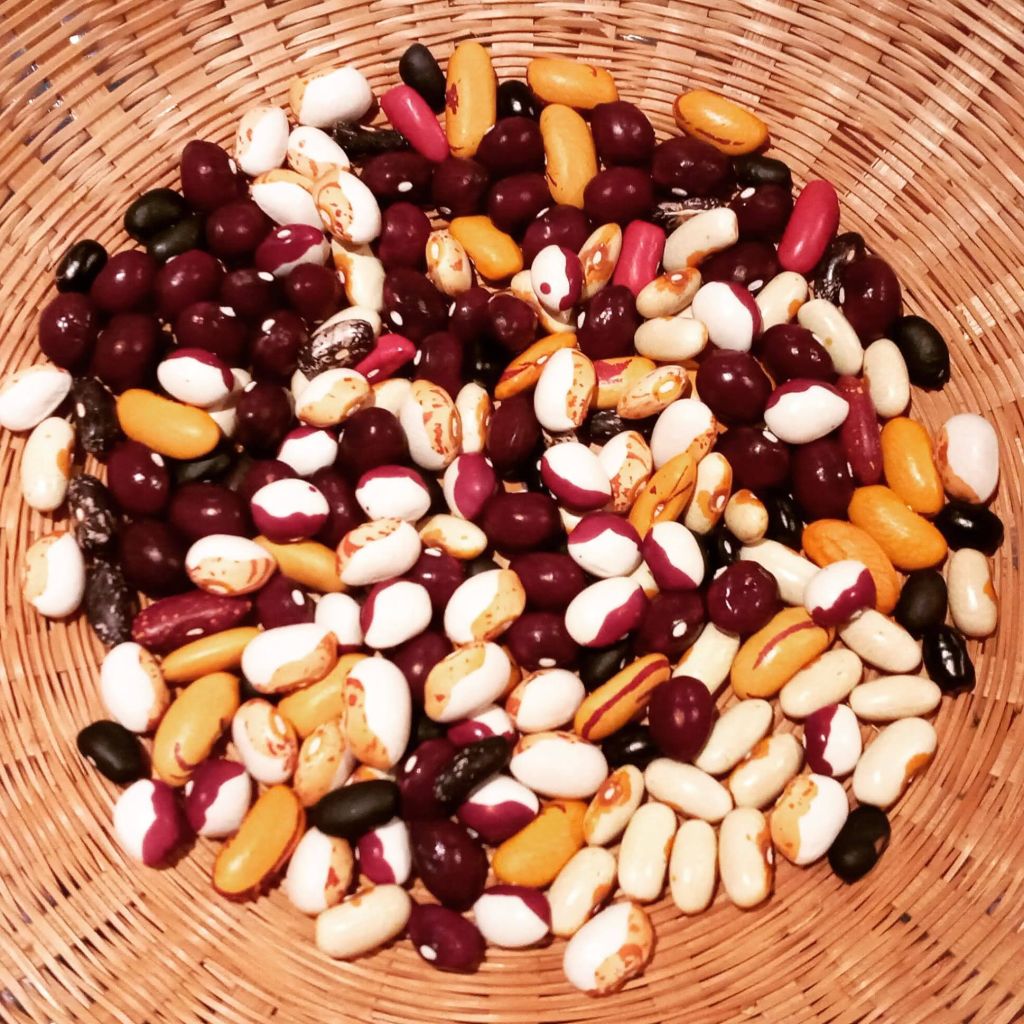
Greens and Annual Vegetables: Arugula, spinach, lettuce, asian greens and any cool weather loving brassicas like broccoli, kale, cabbage or cauliflower. Peas, chickpeas and lentils also did great but I did not try this with heat-loving legumes like pole or bush beans.
Herbs: Sage (culinary and white sage), thyme, marjoram, winter and summer savory, catnip, motherwort, mugwort, lavender, and rosemary.
Perennial Fruit and Food: Asparagus, blackcap raspberries, Saskatoon (service) berries, currants, and rhubarb.
As a tip for knowing how many seeds to plant, it can vary greatly depending on the variety. For tiny seeds like poppies or arugula I sprinkled a few pinches generously over the top of the soil. For larger seeds like lupine I limited it to 4 rows of 4 seeds per jug and that gave them enough room to get started.
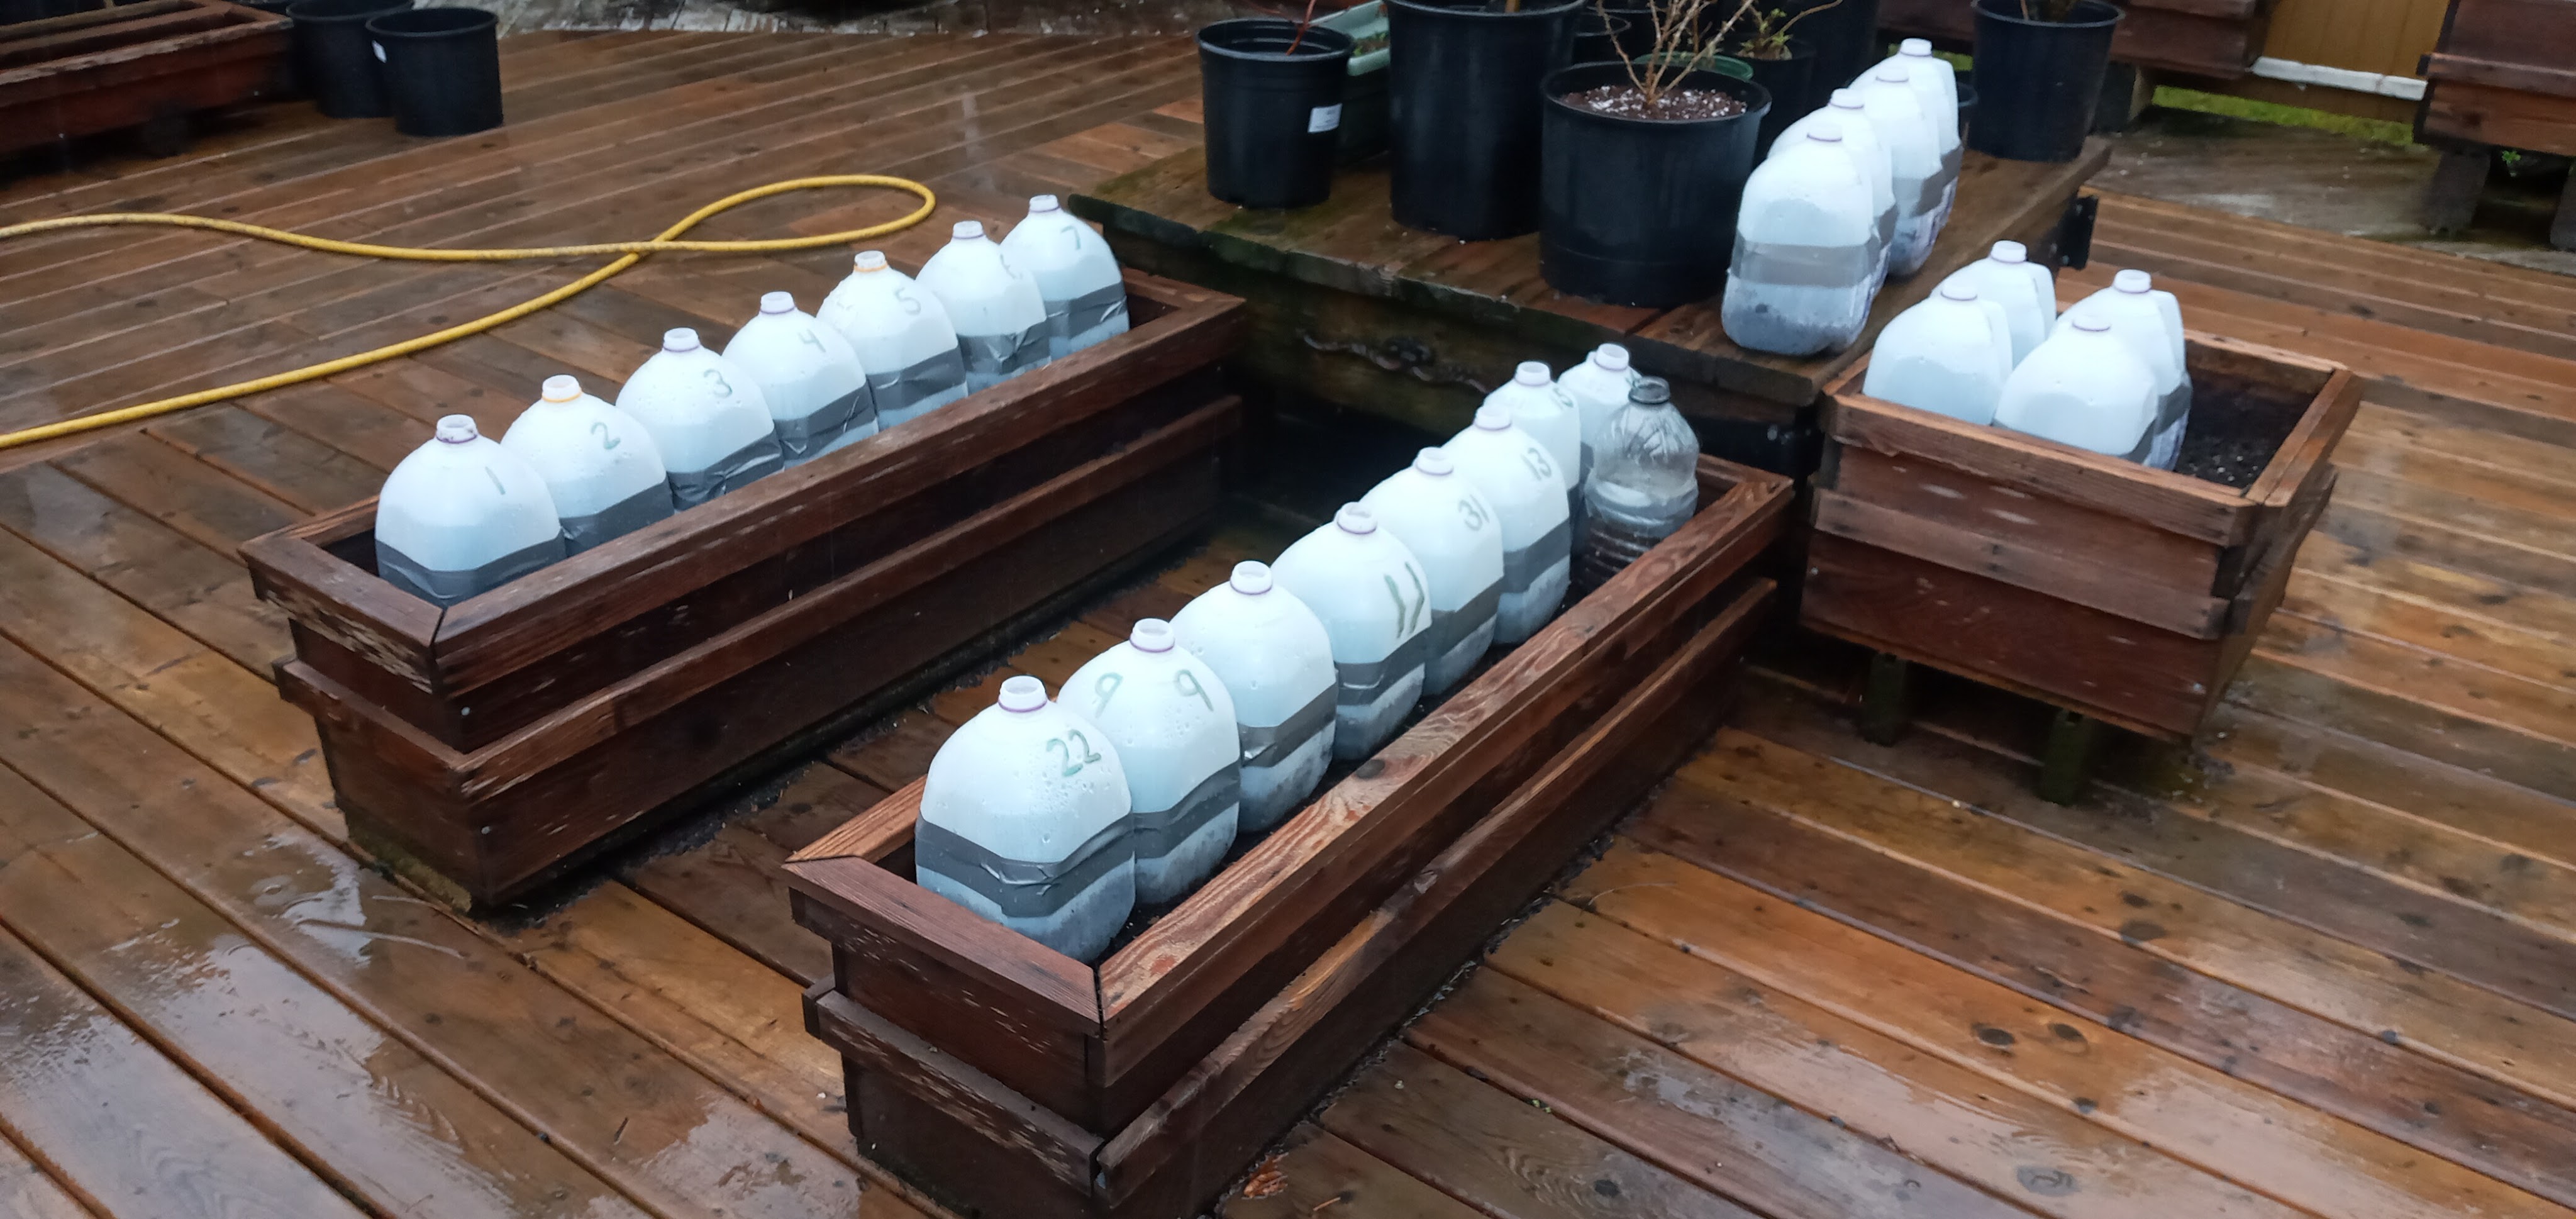
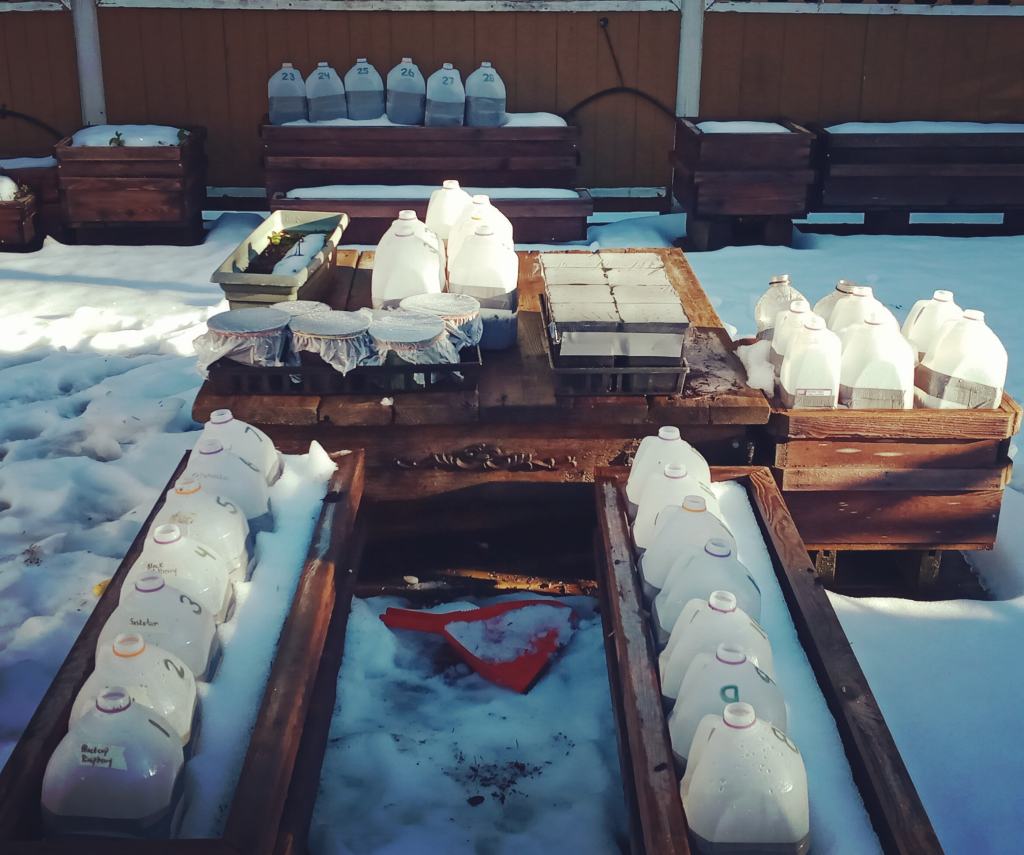
Step 3: Tape them up and toss them outside! In hindsight, duct tape the whole way around the cut seam was overkill. These photos are from my first attempt but by the second year I only used a short piece to keep the lid from blowing off which made things much easier when it was time to open them up.

Step 4: Wait for spring. It’s fun to peek your eye through the open hole in the top as the weather starts to warm to check for signs of sprouting. In this photo you will see I also attempted to use some standard nursery pots with plastic wrap on top, but that wasn’t a particularly successful method even with holes poked in the plastic film to allow for airflow and water. Unfortunately too much water would still pool on the plastic and sink it into the pot.
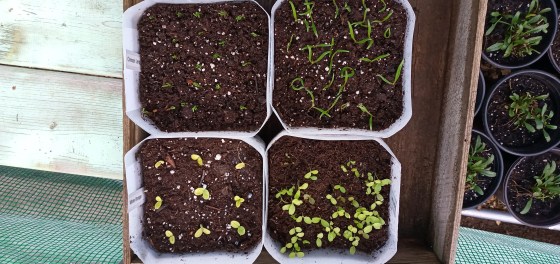
Step 5: Be amazed when the weather warms and things start sprouting! In this photo you can see some lentils, spinach, borage and salad mix germinated in the jugs. Once true leaves were showing and the weather was staying consistently above freezing I removed the tops without any worry for having to harden off the plants as they were already well adjusted to temperature fluctuations.
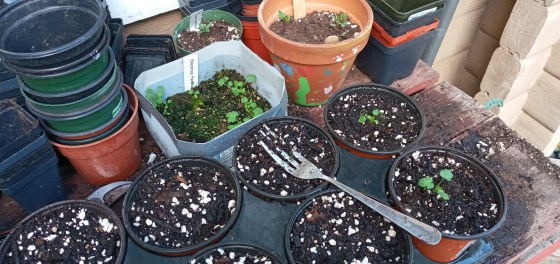
Step 6: Divide and plant. Some plants I divided up into individual pots like the blackcap raspberries above. It was a bit of a delicate and time consuming process for these but it isn’t practical for more densely spaced seedlings like poppies. If you have more plants than are reasonable to separate, you can also plant using the ‘hunk of seedlings’ method, where you take small clumps of seedlings and plant them together which allows for natural selection and the strongest seedlings to survive.
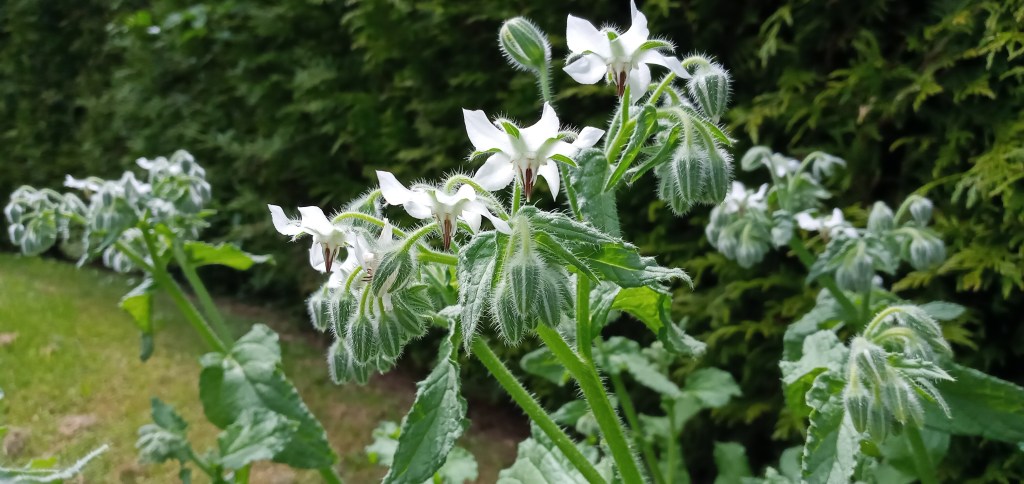
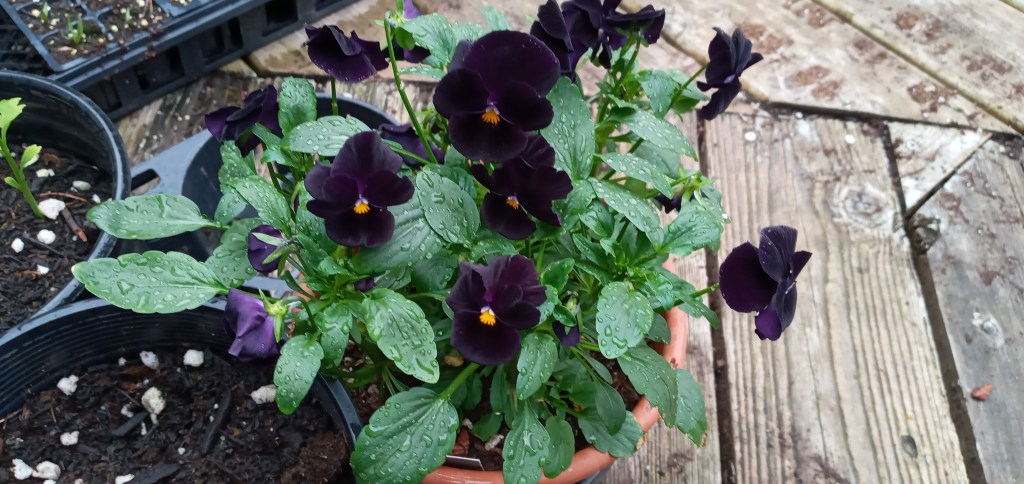
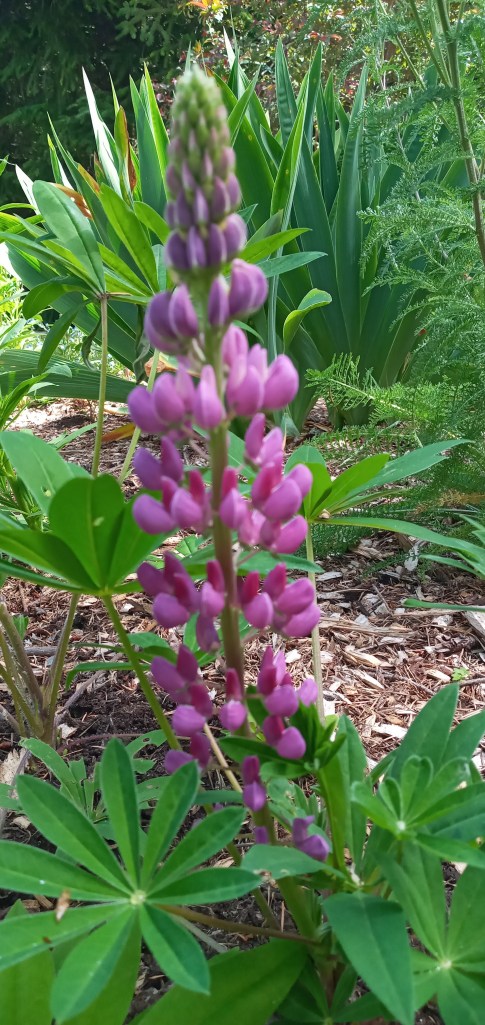
Step 7: Enjoy the show in your garden! These are a few of the plants I grew in my garden that had started as winter sowing experiments. Using winter sowing also allowed me to plan some succession planting, particularly for salad greens. Overall I have loved winter sowing and I bet you will too!
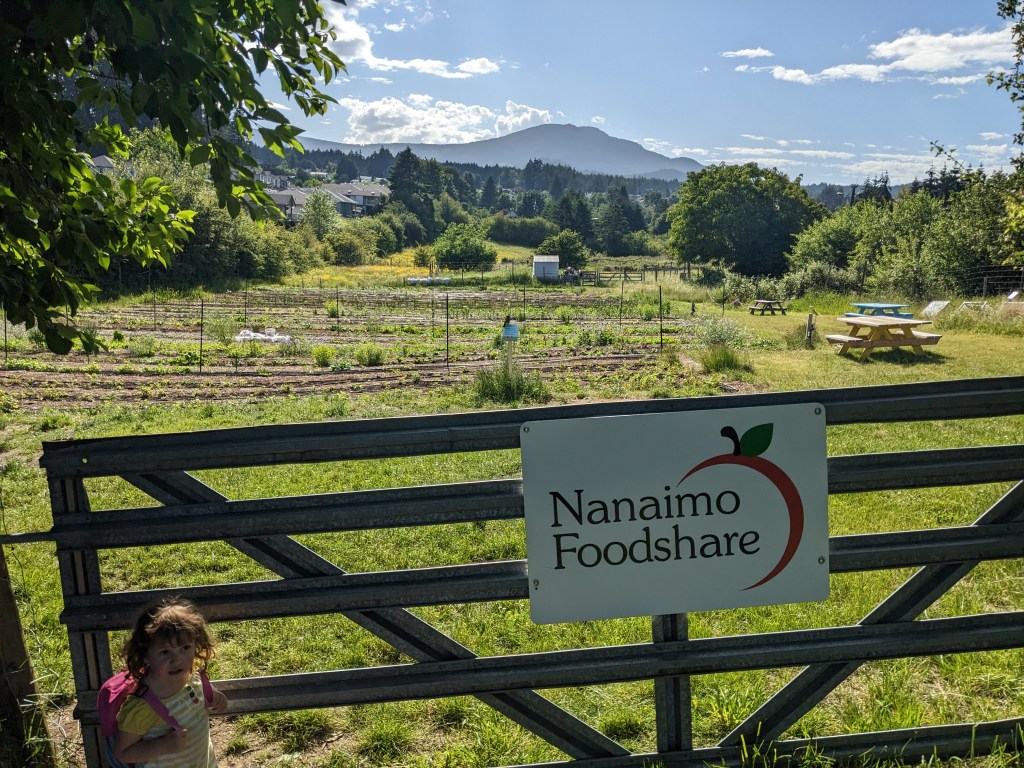
While I haven’t had a chance to introduce winter sowing to the school gardens I’ve worked with yet, it would make a great classroom project for a teacher who is keen to engage kids a bit earlier in the season. I know my own children made a game of looking in the holes every day to see if anything new had popped out and were so excited when they discovered new seedlings!
Do you have any questions about winter sowing? Leave a comment and I’ll try to answer. It’s also worth joining the Facebook group Winter Sowers – The Original which was a great resource for me to ask questions to other gardeners as I trialed this method myself.
Want to get connected with people who are GROWING for a food secure future? Join our Facebook community Let’s Get Growing Canada! or stay in touch with my monthly newsletter.


Leave a reply to When the World Goes Crazy, I Plant Seeds – Garden Mama Growing Cancel reply